A flat tyre can happen to anyone, anywhere – but with a little know-how, it doesn’t have to ruin your day. At Vavista, we’re all about helping you stay safe and confident on the road.
In fact, tyre issues are more common than you might think: over 2 million vehicles fail their MOT each year due to tyre defects, with 1 million classified as dangerous [1]. Even more concerning, over 6 million tyres on UK roads have illegal tread depth annually, risking fines of up to £2,500 per tyre and 3 penalty points [1].
That’s why knowing how to change a flat tyre is a vital skill – and we’re here to guide you through it step by step.
What You’ll Need
Before you start, make sure you have the following tools in your car:
- Spare tyre (fully inflated)
- Car jack
- Wheel wrench (lug wrench)
- Vehicle owner’s manual
- Wheel wedges or bricks
- Reflective warning triangle or hazard lights
- Gloves (optional but helpful)
- Torch (if it’s dark)
You can buy ready-made tyre change kits that include most of the essentials like a jack, lug wrench, and carry case – perfect for keeping in your boot for emergencies. These kits are widely available from retailers such as Amazon UK , eBay and PicClick UK. While most kits don’t include a spare tyre, you can find car-specific bundles, including a space saver wheel and tools, from specialist retailers like The Wheel Shop UK.
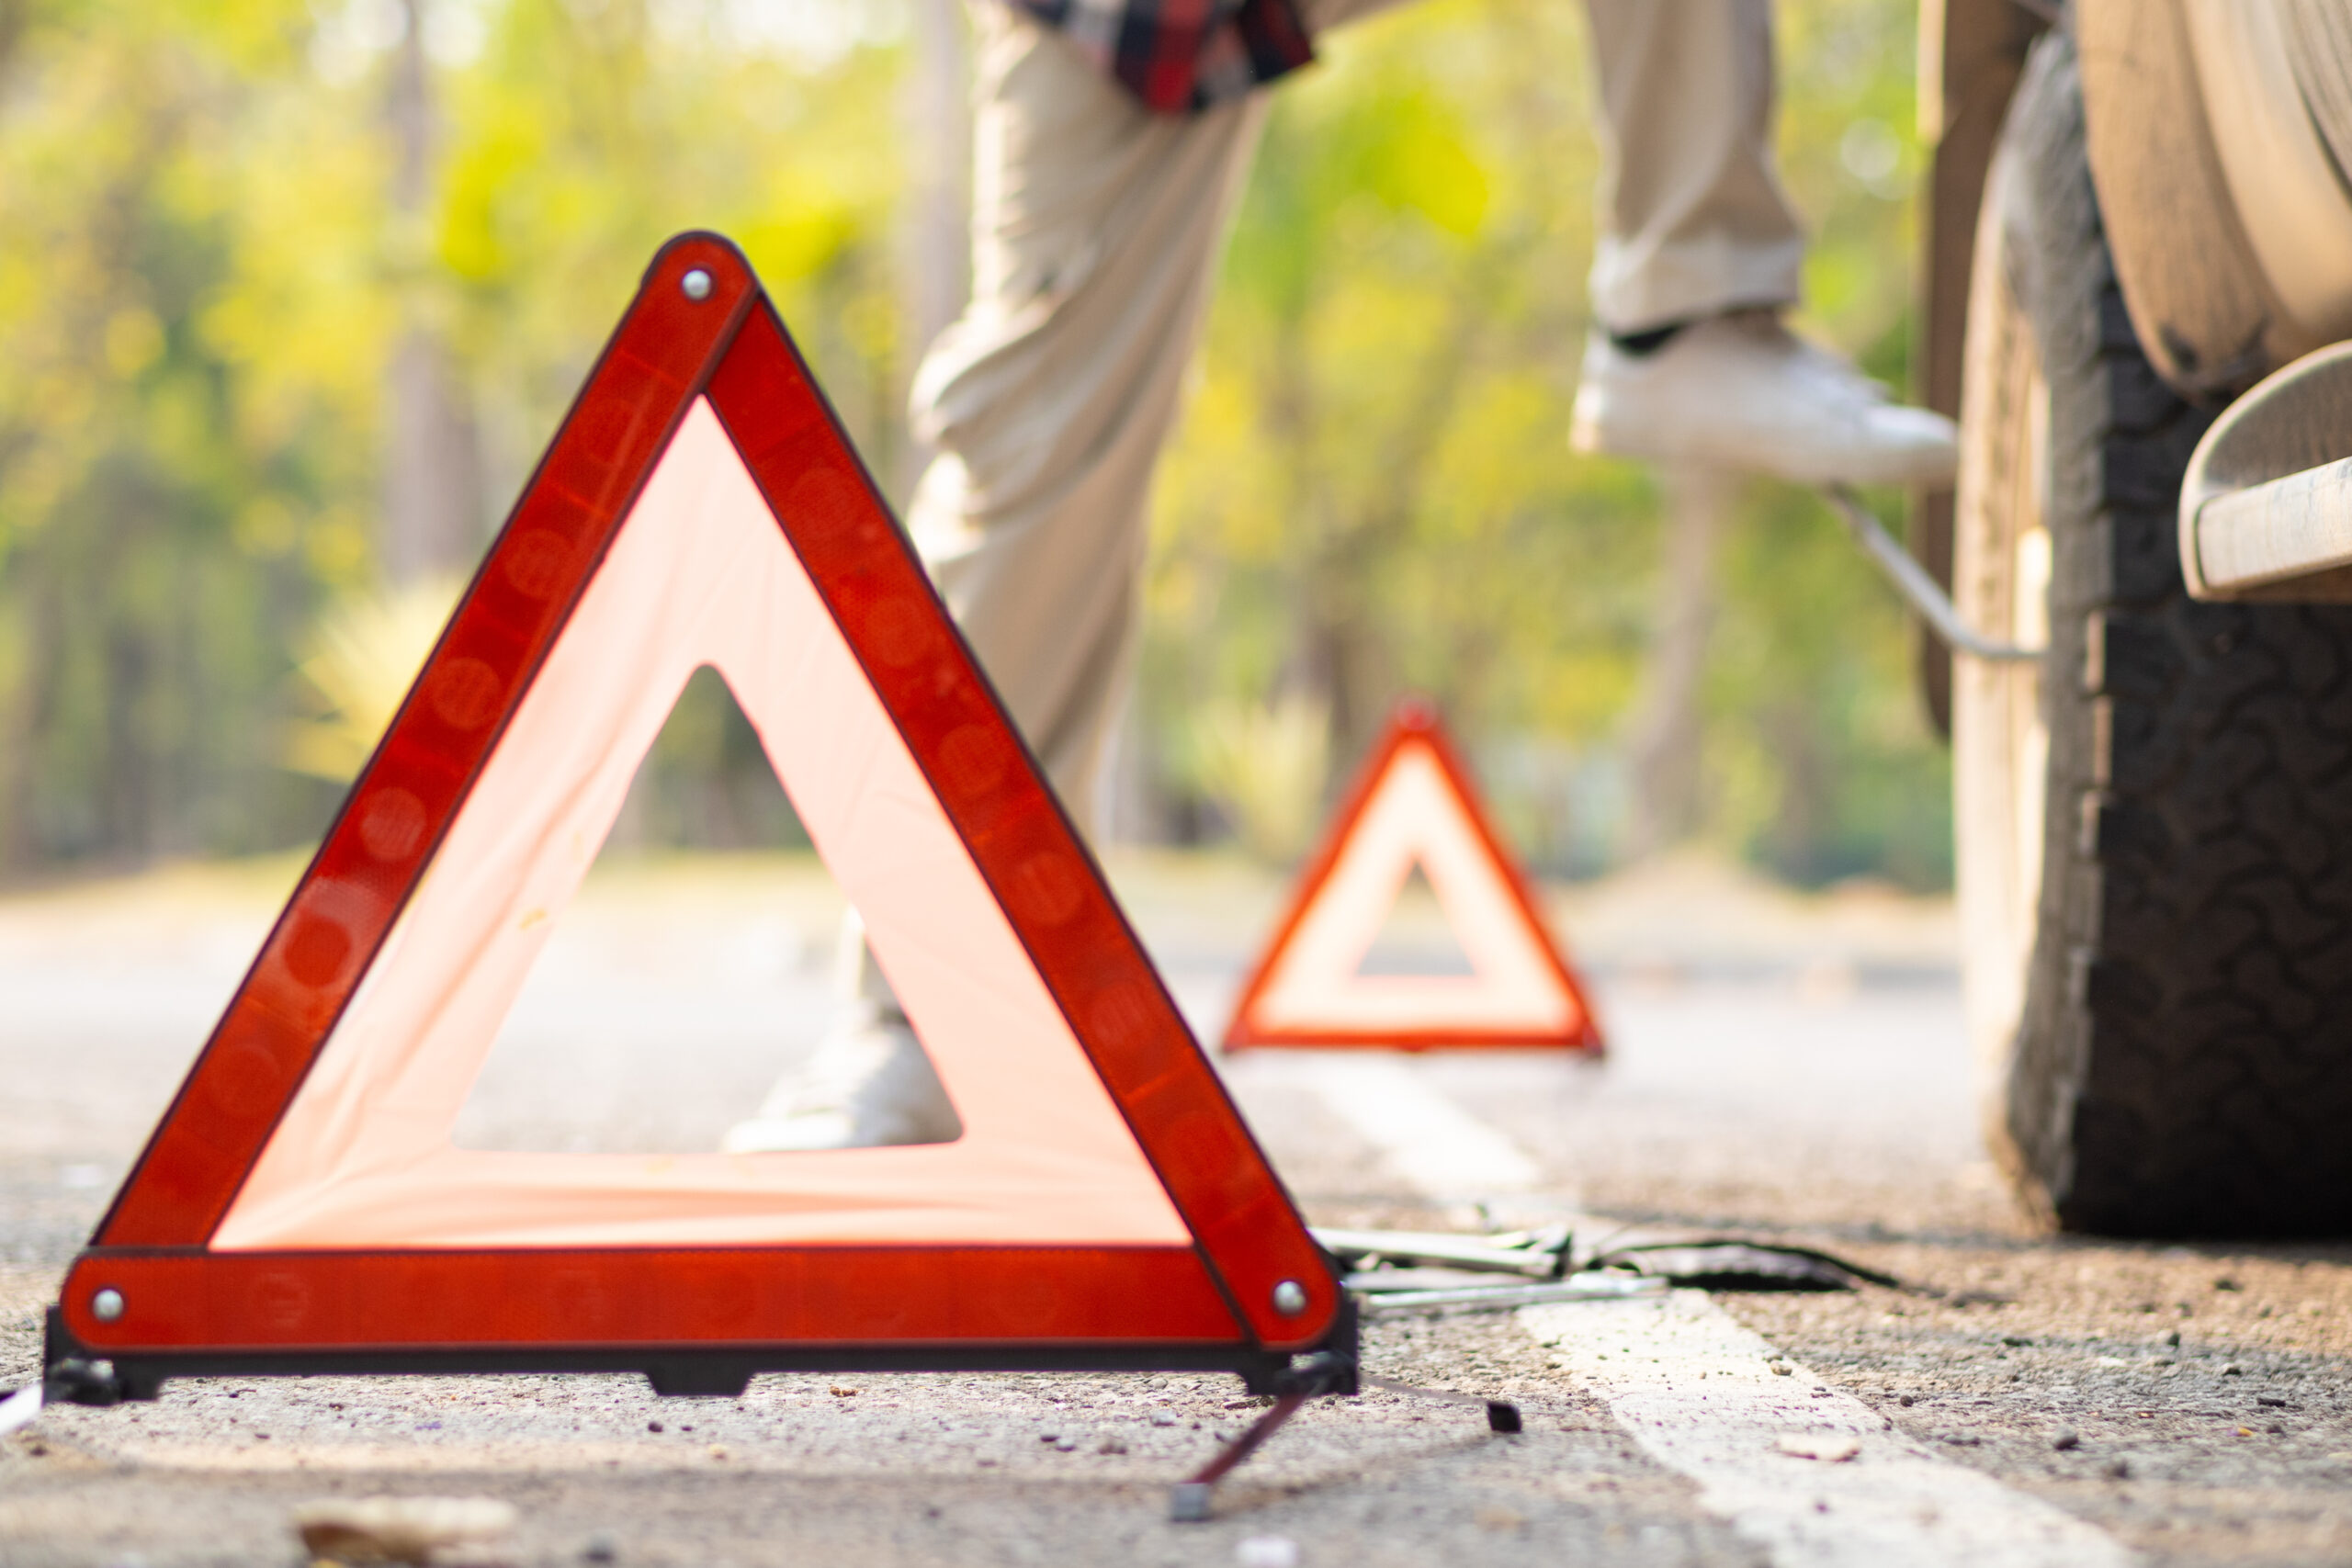
Step 1: Stay Safe
- Pull over safely: Find a flat, stable, and safe place away from traffic.
- Turn on your hazard lights: Alert other drivers.
- Apply the handbrake: Prevent the car from rolling.
- Place wheel wedges: Behind or in front of the tyres to keep the car steady.
Changing a Tyre on the Motorway: Stay Safe First
If you get a flat tyre on the motorway, your safety comes first. Try to exit at the next junction or pull into a service area. If that’s not possible, move onto the hard shoulder or an emergency refuge area (ERA), keeping your wheels turned left. Switch on your hazard lights immediately, and if visibility is poor, use your sidelights too. Never attempt to place a warning triangle on the motorway – it’s too dangerous. Exit the vehicle from the passenger side and wait behind a safety barrier if there is one. Only attempt to change the tyre if you’re confident it’s safe to do so. If in doubt, call for roadside assistance. Your safety is more important than a speedy fix.
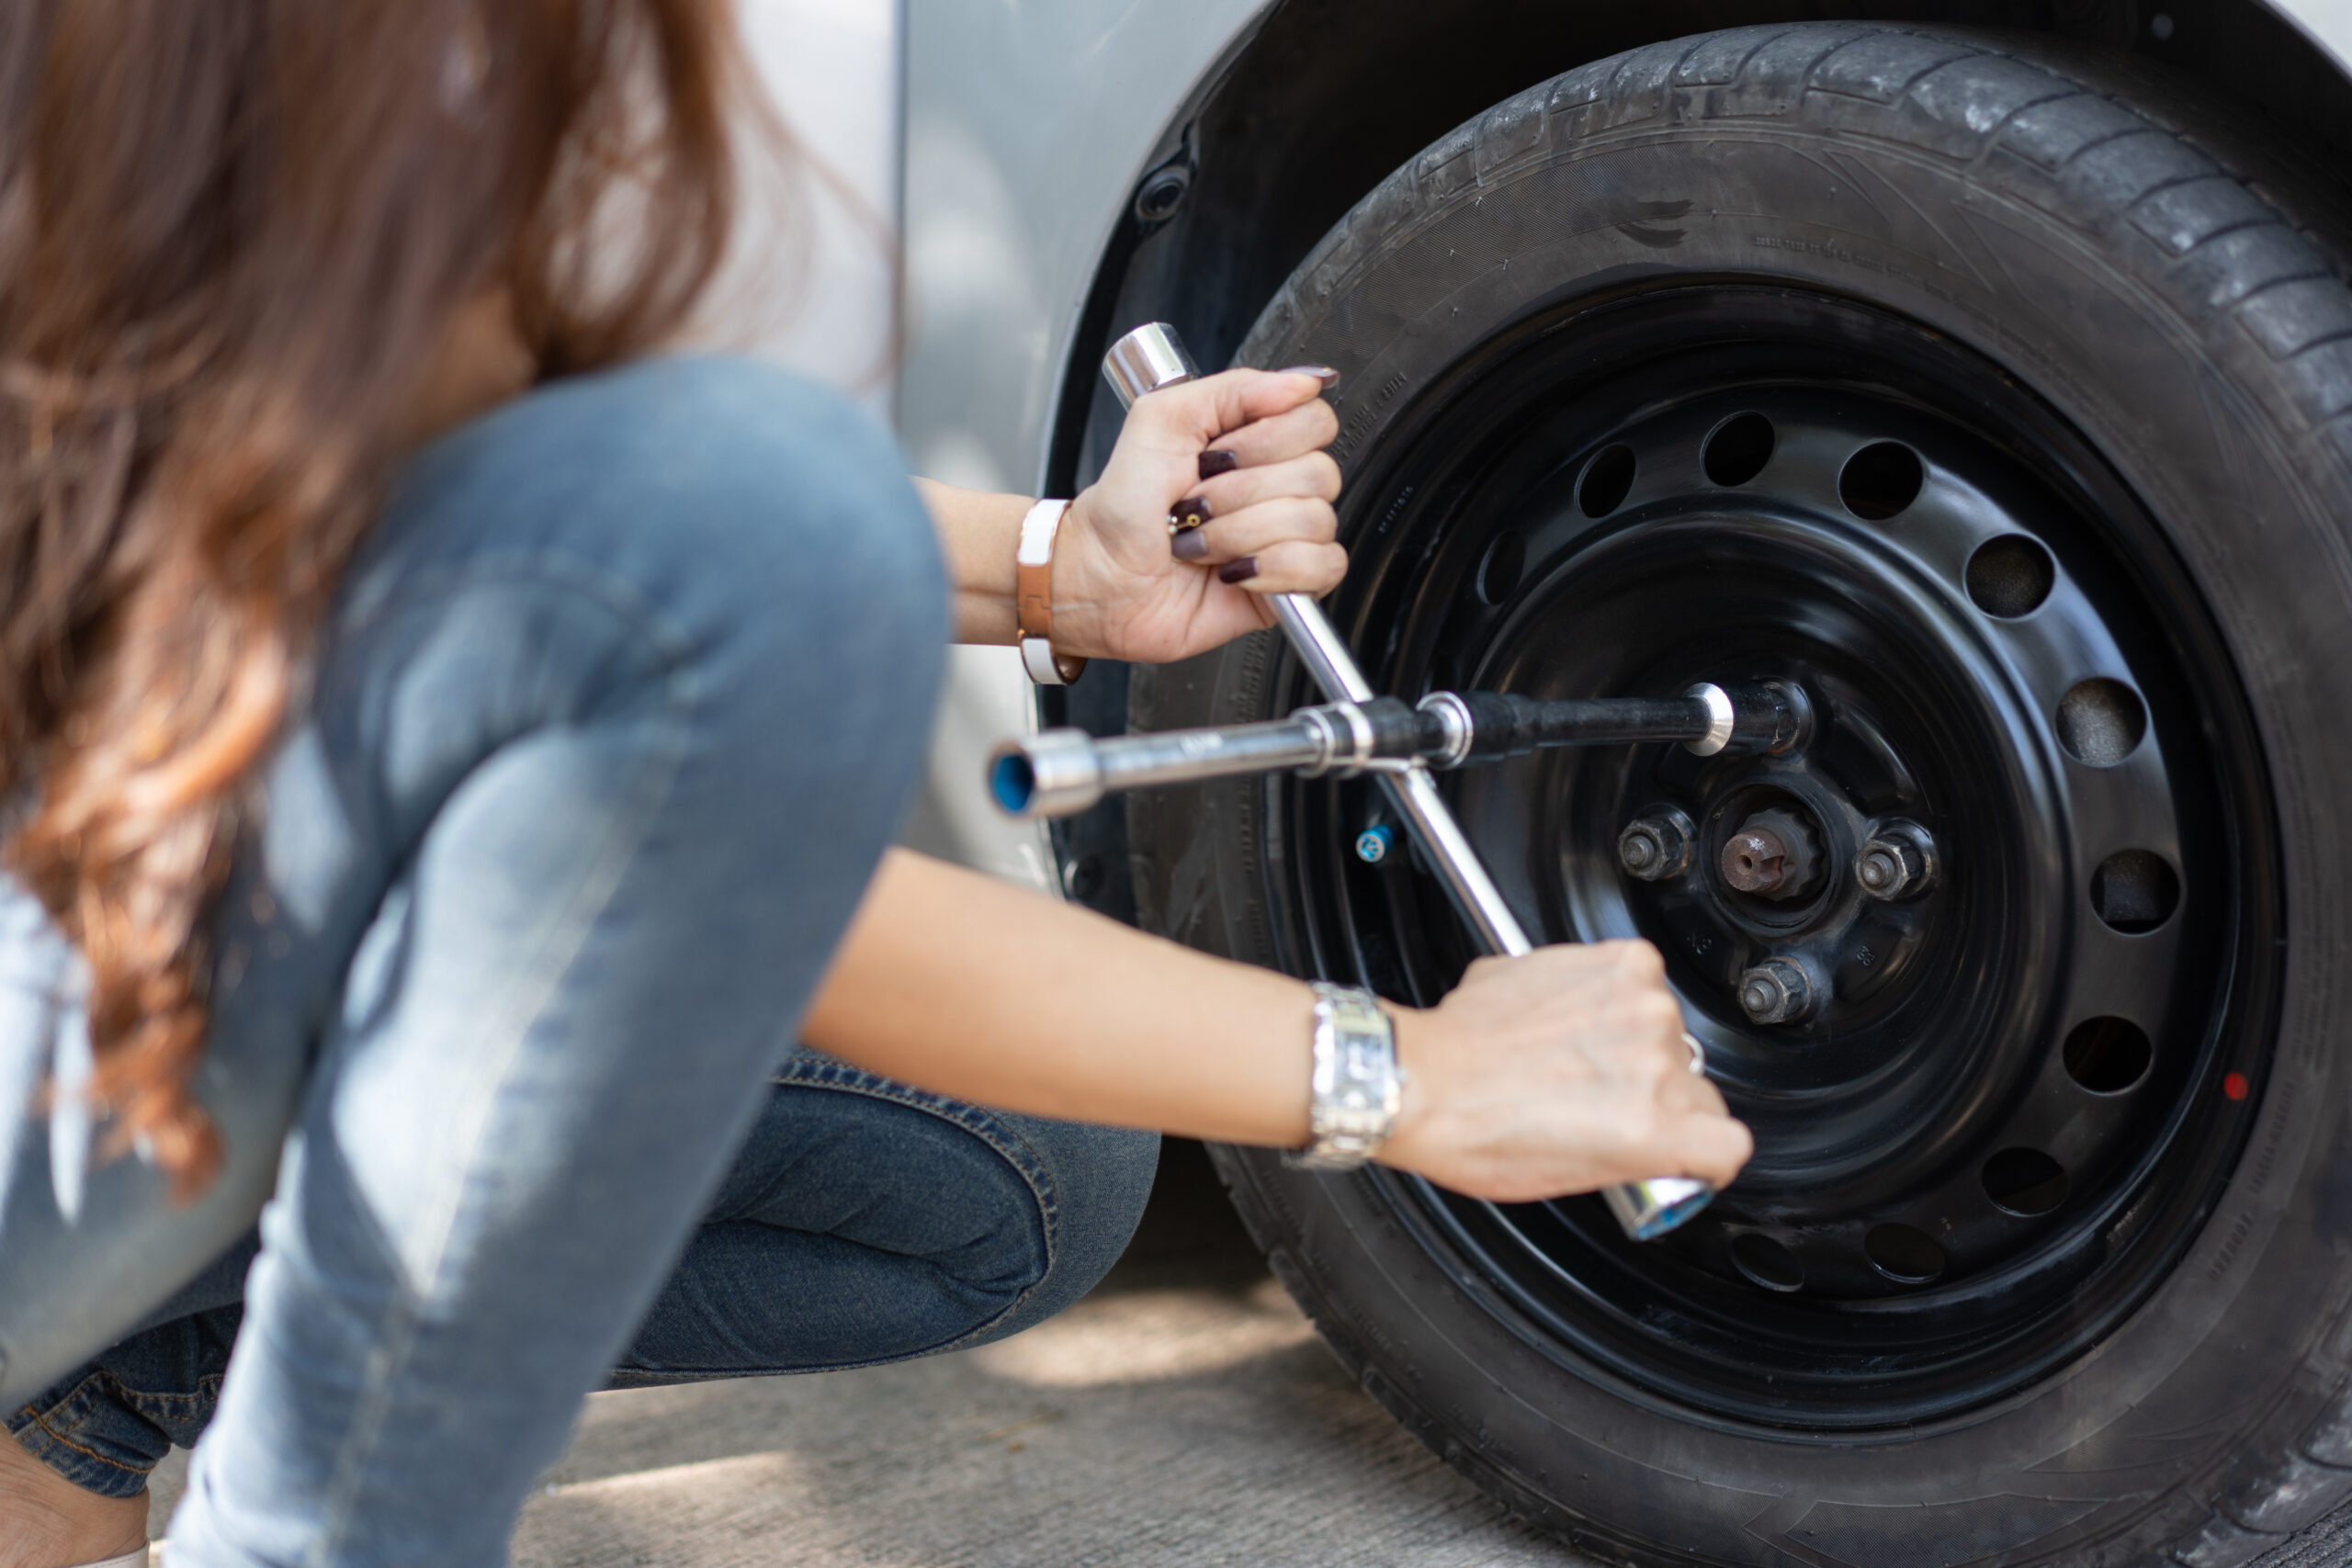
Step 2: Loosen the Lug Nuts
- Remove the hubcap (if your car has one).
- Use the wrench to turn the lug nuts counterclockwise. Don’t remove them completely yet – just break the resistance.
Step 3: Jack Up the Car
- Check your manual for the correct jacking point.
- Place the jack under the car and raise it until the flat tyre is about 6 inches off the ground.
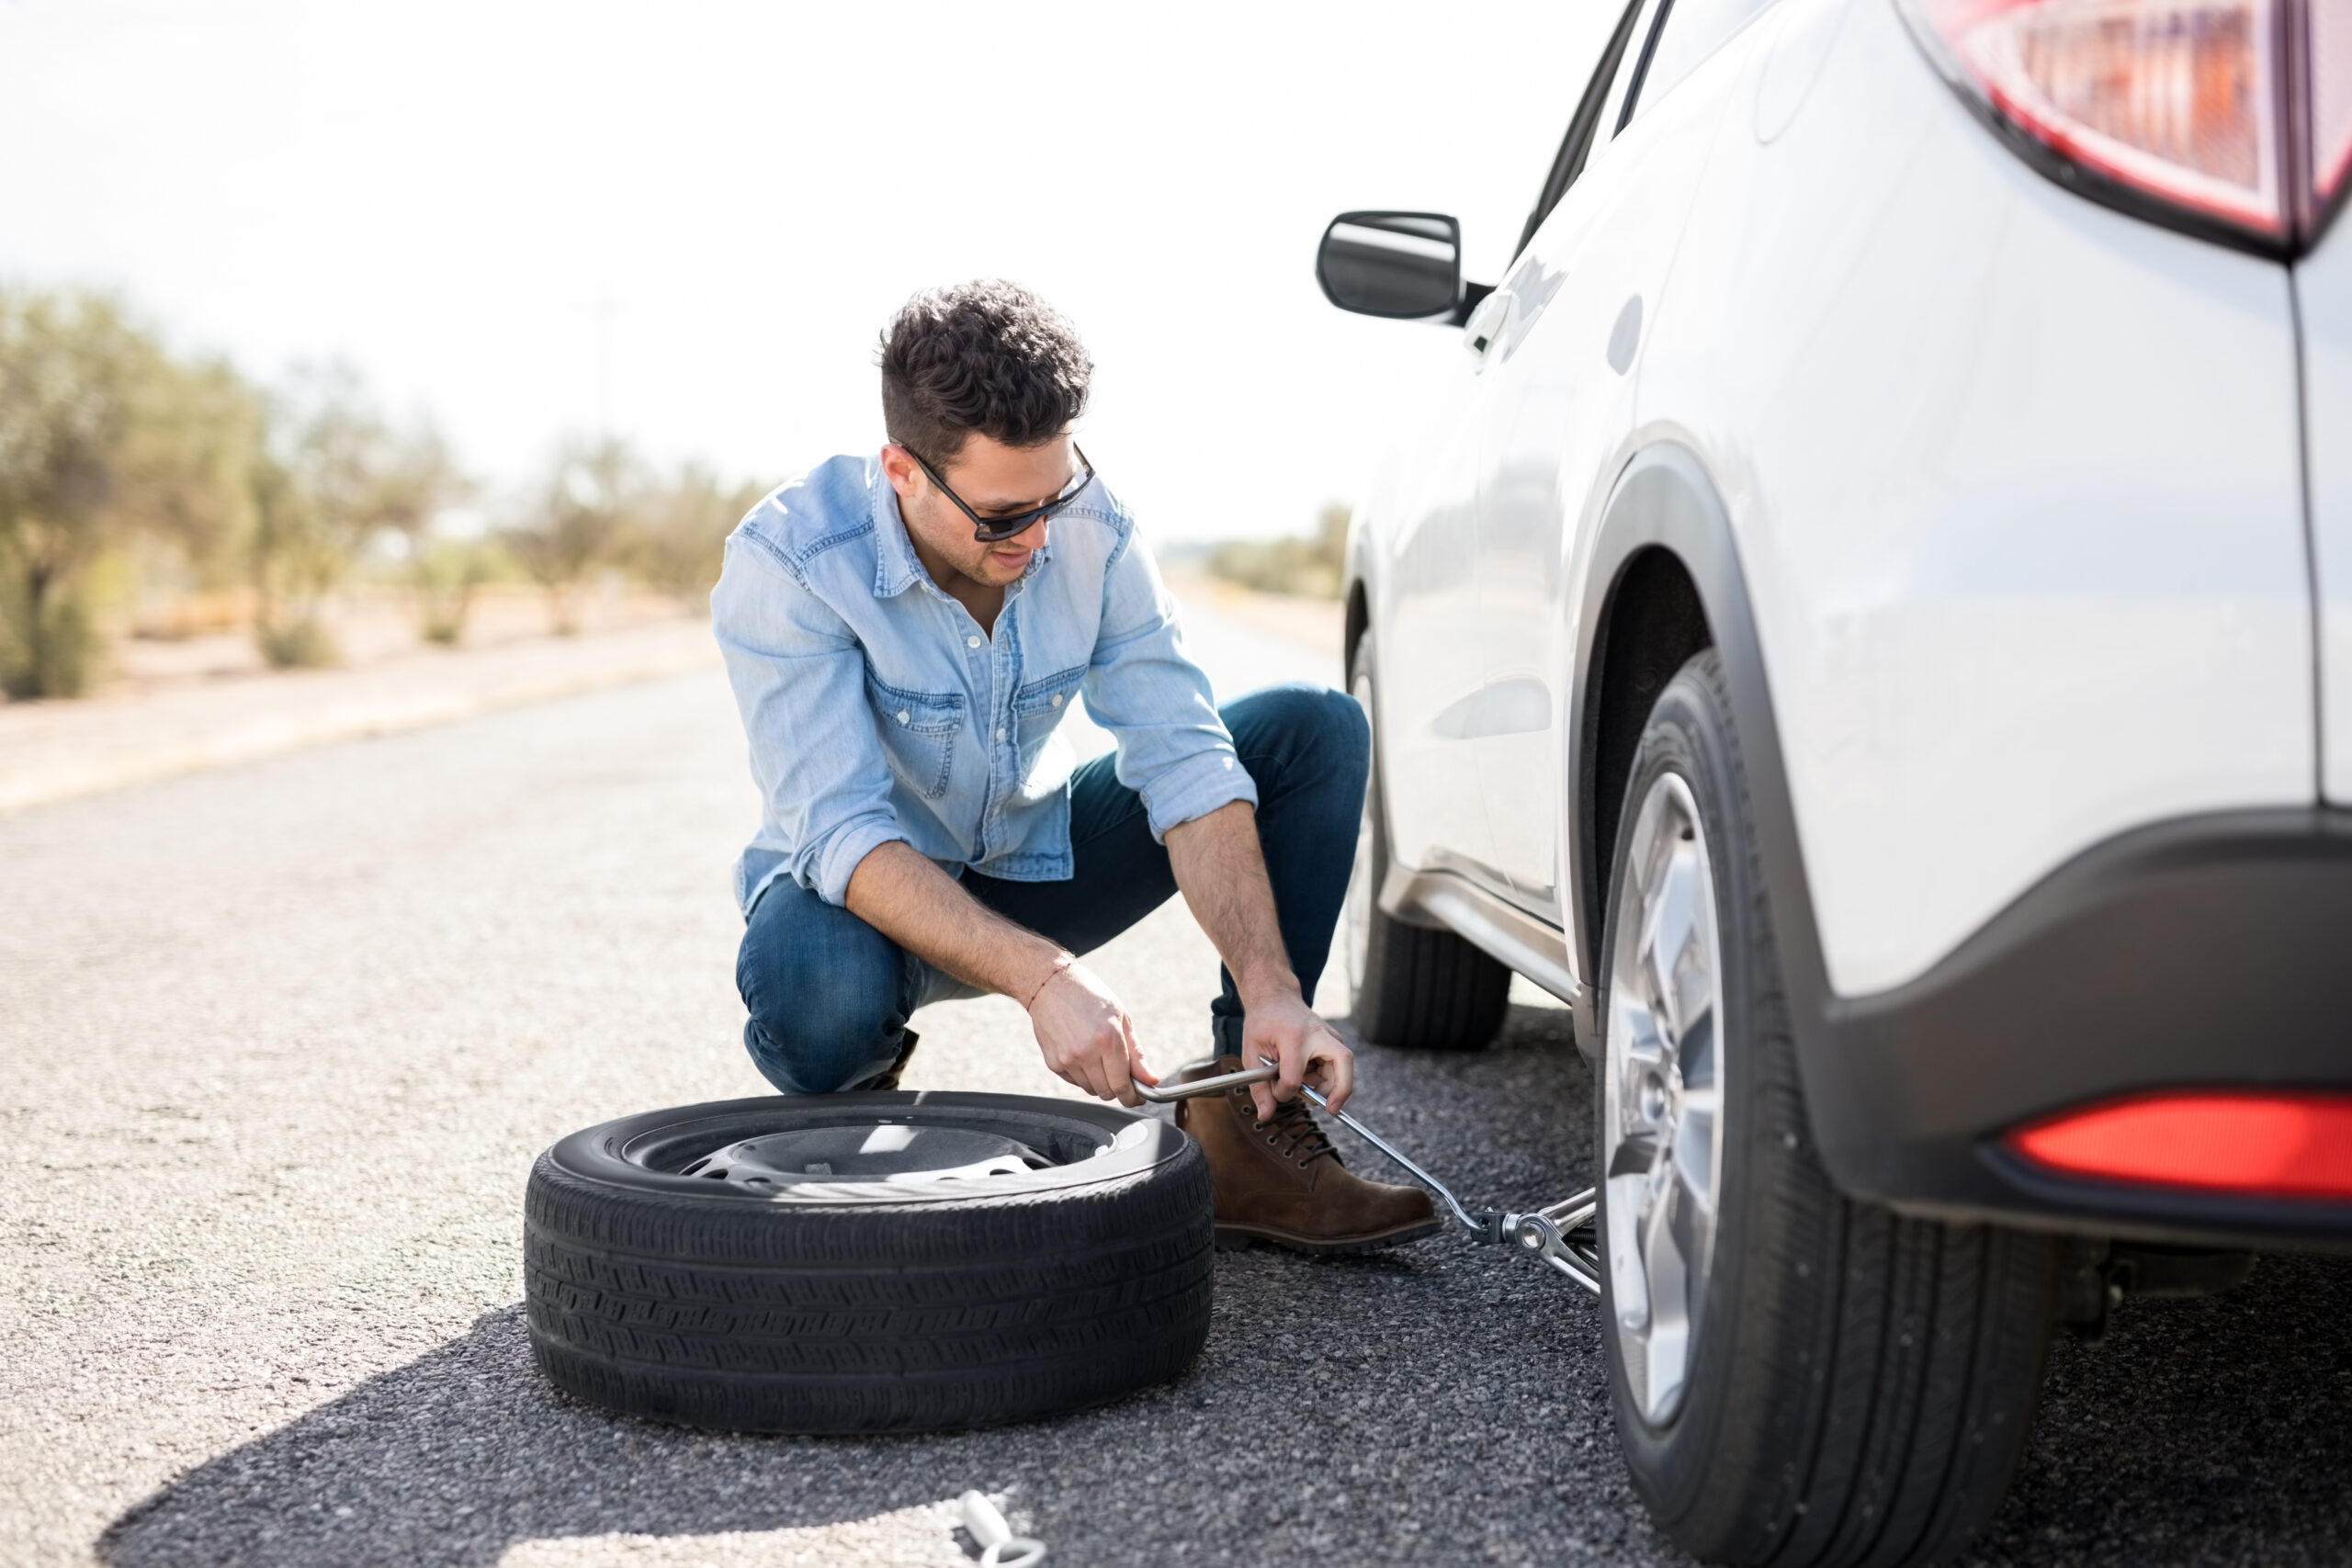
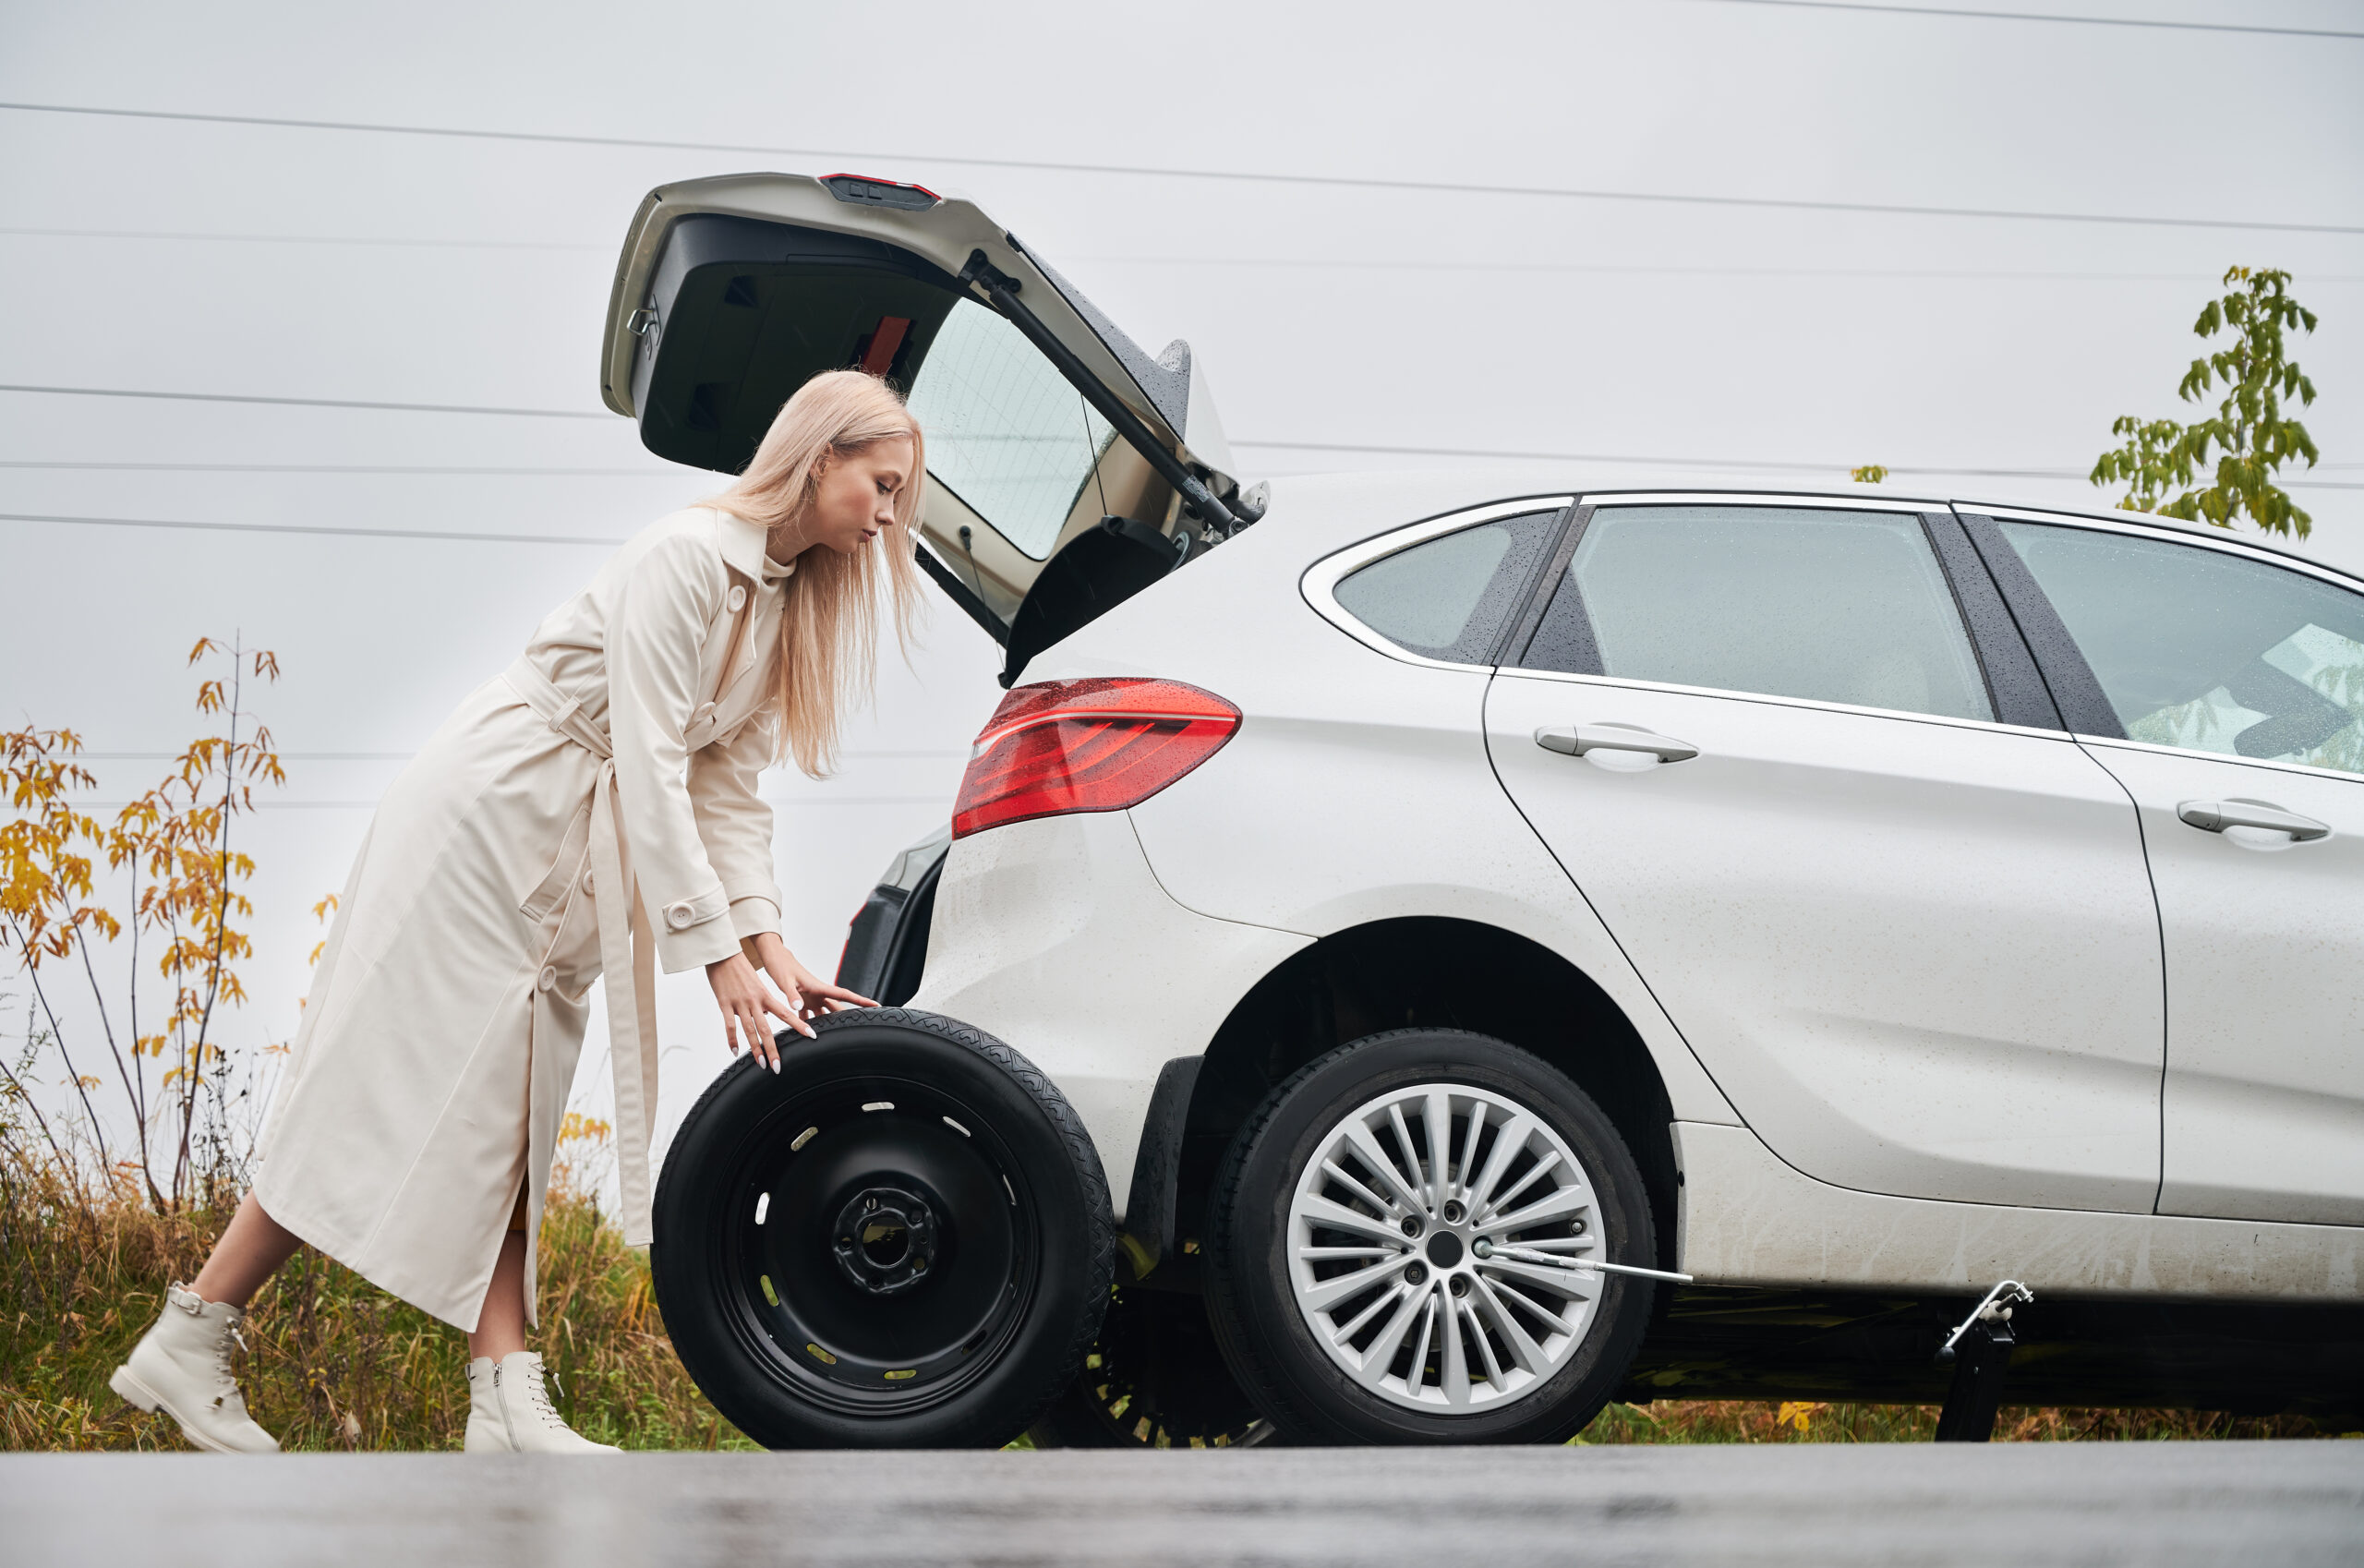
Step 4: Remove the Flat Tyre
- Fully unscrew the lug nuts and keep them in a safe place.
- Pull the tyre straight off and lay it flat on the ground to avoid it rolling away.
Step 5: Mount the Spare Tyre
- Align the spare tyre with the lug bolts and push it into place.
- Screw the lug nuts back on by hand as tightly as possible.
Step 6: Lower the Car and Tighten
- Lower the car slowly using the jack until the tyre touches the ground.
- Tighten the lug nuts in a criss-cross pattern to ensure even pressure.
Step 7: Final Checks
- Double-check the lug nuts are secure.
- Stow your tools and the flat tyre in the boot.
- Drive carefully and get your tyre repaired or replaced as soon as possible.
Vavista Tip
Spare tyres – especially space-saver types are designed for temporary use only. In the UK, it’s recommended that you drive no more than 50 miles and not exceed 50 mph when using one [2]. They’re meant to get you to a garage safely, not to be a long-term replacement.
Changing a tyre might seem daunting, but with this guide, you’ll be ready to handle it like a pro. At Vavista, we’re here to support you with more than just insurance – we’re your partner in safer driving.